
Your needs, this model
Does it fit your priorities?
When should I use Mode 2 instead of Mode 1 on the ProSensor MAX?
Franklin's manual reserves Mode 1 for a single layer of textured or untextured sheetrock. Mode 2 is the deeper setting named for two or more sheetrock layers, a sheetrock layer over OSB or plywood, plywood or MDF, lath and plaster, and large tile. It can favor the densest or nearest of multiple hidden objects, so a broad display is not proof that the strongest signal is a stud.
Explore this need in the finder →Does the MAX's 2.5-inch figure apply to every lath-and-plaster wall?
No. The MAX manual says it can see up to 2.5 inches, separately gives 1.75 inches for wood studs, and says most lath-and-plaster walls may be scanned within that reach. It warns that metal mesh reinforcement may prevent detection and that wall-thickness variation changes the result. Treat plaster as conditional and identify the actual wall construction first.
Explore this need in the finder →Can the MAX tell me that a wide LED pattern is a stud rather than a pipe or wire?
No. The manual says these sensors respond to density changes and do not identify the object; irregularities, pipes and wires can also illuminate the LEDs. It recommends repeated vertical scans to compare persistent and sporadic indications, but that is not a safety clearance. Turn off gas, water and electric power before penetrating the wall.
Explore this need in the finder →This is a desk assessment of Franklin’s U.S. model page and current instructions, not a hands-on test. The maker’s “deepest” positioning is not independent accuracy evidence.
Who should consider the MAX
The MAX makes the clearest case for someone whose wall has more than one sheetrock layer, an overlay such as OSB or plywood, lath and plaster, plywood or MDF, or large tile. Its two selectable modes have different documented jobs. On an ordinary single sheetrock layer, Mode 1 is the maker’s specified starting point. For the named thicker or layered surfaces, Mode 2 is the deeper setting.
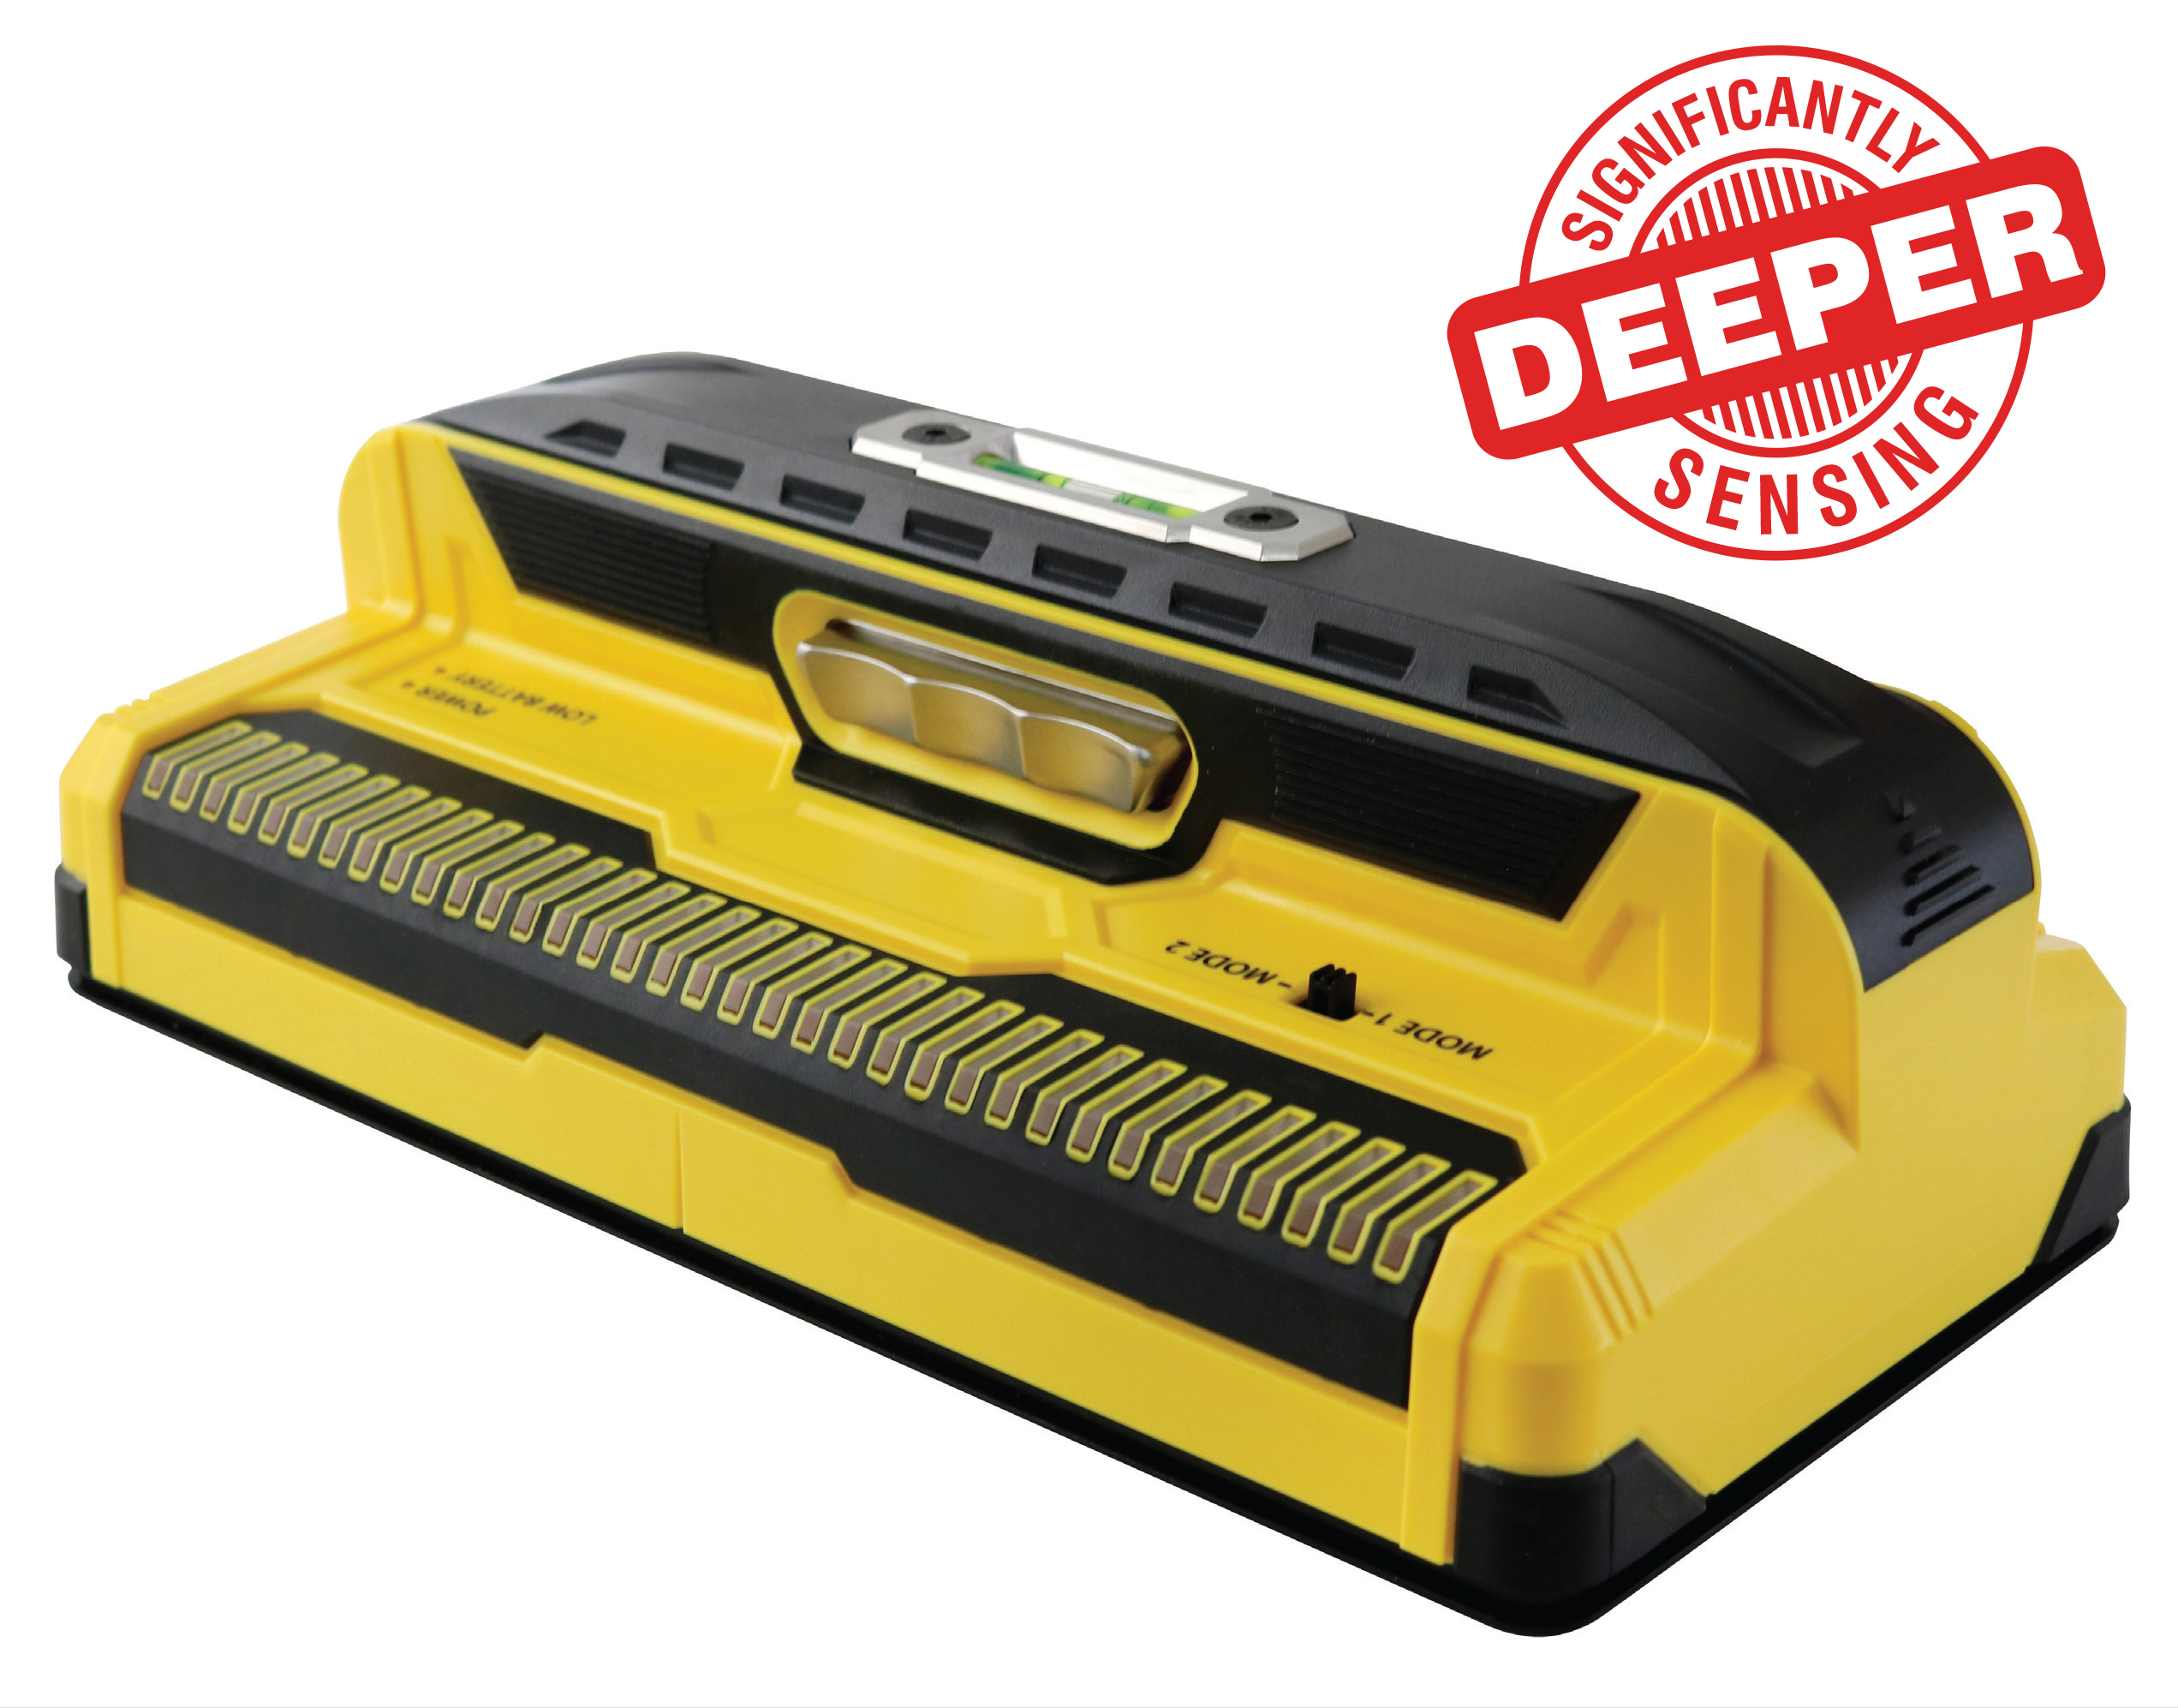
The official MAX page lists 13 larger sensors, 35 LEDs, a maximum detection depth of 2.5 inches, a built-in bubble level and a center indication. The separate MAX.E (09/25) instructions provide the more useful operating detail. They say Mode 1 suits one textured or untextured sheetrock layer and can show more than one object; Mode 2 is optimized for thicker surfaces. It is specified for two or more sheetrock layers, sheetrock over OSB or plywood, plywood and MDF, lath and plaster, and large tile.
Two modes require a deliberate choice
Mode 1 is for the simpler single-layer sheetrock case. Mode 2 senses more deeply, but it is not simply a universally “better” setting. Franklin’s manual says that if multiple objects are behind a Mode 2 scan, the tool will show the densest object or the object closest to the wall—even when two objects are present. If the area contains a pipe, wire, another wall layer or a structural irregularity, the strongest pattern is not automatically the stud you want.
The instructions say no startup calibration is required. Hold the on button while scanning, keep fingers on the handle rather than the detector edges, and use the mode that matches the surface. After an indication, keep the button held and scan vertically. The manual says a stud signal will normally remain constant while wall irregularities may appear sporadically. That repeat pass helps compare a pattern; it does not identify an object or validate a place to drill.
Read the depth statement with its wood-stud limit
The headline 2.5-inch maximum needs a qualification. In its lath-and-plaster section, the current manual says the MAX can see up to 2.5 inches, “1.75 inches for wood studs,” and may see through most lath-and-plaster walls. It also warns that metal mesh reinforcement may prevent detection. The text does not explain how all other targets and wall assemblies map to those two figures, so neither should be read as a guaranteed working depth for a particular project.
The same manual says detection is not guaranteed through flooring, roofing, complex tile or exterior materials because their thickness and density vary. Large tile is a named Mode 2 use, but complex tile and other difficult construction are outside that blanket assurance. If the wall assembly is uncertain, check the exact material and look for an independent way to confirm the location.
A wide display helps map a pattern, not identify it
The MAX’s 35 lights provide a wide response, with the center and edges tracked at the same time; the manual says the center LED turns green at the precise stud center. A broad light pattern can help show where a response begins and ends, and the bubble level is a useful integrated layout aid. But the instructions are explicit that the sensor reports changes in material density, not the identity of a stud. Texture, patches, paint variation, pipes and wires can also light the display, and objects may go undetected.
There is no live-wire meter documented on the MAX page or in the MAX manual I reviewed. If a dedicated meter is essential, the official M210 and X2100 pages explicitly list one; their added warning cue is not a safety clearance either. Franklin’s MAX manual instructs users to turn off gas, water and electric power before penetrating a wall. Do that independently of any stud-finder reading.
How it differs from the M210 and X2100
All three reviewed Franklin models specify 13 sensors and a bubble level. The MAX page calls its sensors larger and lists 35 LEDs, while the M210 and X2100 pages list 21 LEDs. MAX also adds two named surface modes and a higher stated maximum: 2.5 inches overall with the separate 1.75-inch wood-stud figure, versus the M210 and X2100’s 1.7-inch claims. The M210 and X2100 document live-wire meters; the MAX’s reviewed documentation does not. These are real differences in stated capability, not evidence that the MAX will be more accurate on every wall or that the wider display will resolve every ambiguous reading.
Check the package before ordering
The manual requires two AA batteries, but the model page does not confirm whether a particular seller’s box includes them. The manufacturer lists a MAX case separately, and its case page specifically says the finder is not included. Check the exact “MAX” model identity, seller description, included batteries, any separately offered case and return terms before buying; do not assume a product photo depicts the package contents.
Bottom line: the MAX is a plausible document-supported candidate when its Mode 2 surface list fits the wall and its stated reach matters. Its mode switch, wide center-and-edge display and integrated level are useful on paper, but the target remains unknown, wood-stud reach is listed separately, and the manual’s material limits matter more than the largest number on the page.
Key specifications
Key details at a glance
| Sensing points | 13 |
|---|---|
| Indicator lights | 35 |
| Maximum stated stud depth | 2.5 in |
| Depth qualification | Manual: up to 2.5 in overall; 1.75 in for wood studs |
| Documented scan modes | Mode 1: single-layer drywall; Mode 2: thicker and layered surfaces |
| Center and edge indication | Yes |
| Built-in bubble level | Yes |
| Battery requirement | 2 AA |
Use the exact model’s instructions for operating limits, supplied equipment and version differences.
Sources for this review
Sources for this assessment
- ProSensor MAX — official model page
- Franklin Sensors ProSensor MAX Operating/Safety Instructions, MAX.E (09/25)
- Franklin Sensors U.S. product directory
- Case for the ProSensor MAX — official accessory page
- Franklin Sensors instructions and quick-start index
- ProSensor M210 — official comparison model page
- ProSensor X2100 — official comparison model page
Check this model against your wall
Use the finder to compare documented surface limits, center/edge indications and other requirements. A match is not a safety certification.