
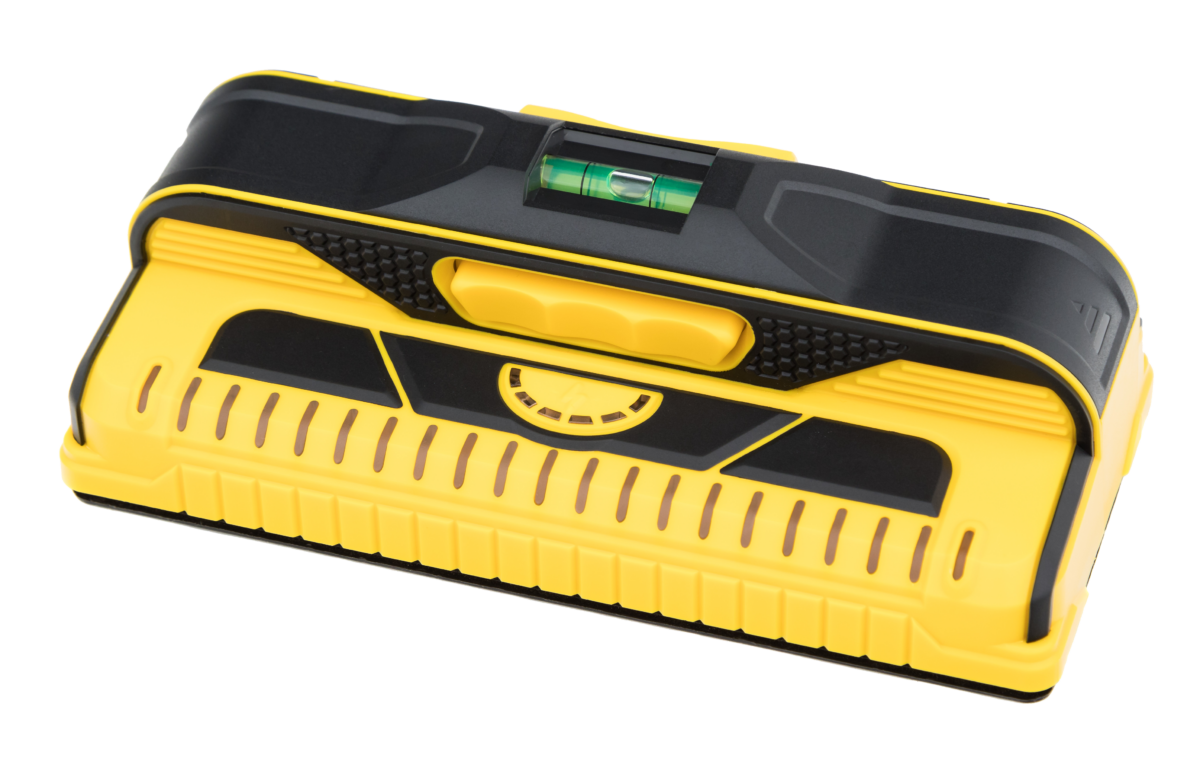
Your needs, this model
Does it fit your priorities?
What makes the M210 a plausible choice for mounting on ordinary drywall?
Its official page specifies a full-width 21-LED display and a maximum 1.7-inch stud-finding depth. Use it on a clean, dry interior surface, keep your fingers on the handle, and scan again from another direction to check a likely stud indication. The stated maximum is not a promise for every wall.
Explore this need in the finder →Does the M210 show the center as well as the stud edges?
The M210 page describes the display as showing the full width of a stud and lists a stud-center indicator. Its LEDs can also respond to pipes or other density changes, so confirm a candidate by moving the tool vertically and comparing the surrounding pattern.
Explore this need in the finder →Can the M210's live-wire meter make drilling safe?
No. The meter is a warning aid, optimized for live wires on or near studs, and the manual warns that not every live wire or hidden object will be detected. Turn off electricity, gas and water before penetrating a wall; do not use a stud finder as proof that a spot is safe.
Explore this need in the finder →Short answer: The M210 makes the most sense when a broad, easy-to-read indication of a stud’s width and center matters more than a tiny one-point finder. Its 13 sensors feed a 21-LED display, and a live-wire meter adds a warning cue. Neither feature turns it into a wall-content identifier or a drill-safety instrument.
What the broad display actually buys you
Franklin lists 13 sensors, 21 LEDs and a maximum detection depth of 1.7 inches. Instead of asking the user to infer the whole target from one light, the display can show a band across the wall. The maker says it indicates a stud’s full width, including double studs and irregular configurations; the M210 page also lists a stud-center indicator. That is useful when a mount or fastener needs a centerline, or when an unusually wide density pattern deserves a second look. Those lights report a change in density, not “wood stud” as a verified identity. The M210 manual warns that a pipe, wire, beam, uneven paint or a change in wall material can also light the display. In practical terms, the broad array gives more information to interpret, not certainty. Treat a first pass as a candidate. Scan across the area, move the finder vertically, and see whether the indication persists in a pattern consistent with a stud. Mark both sides and recheck before choosing a fastener location.Startup is simple; careful scanning still matters
The manual says the M210 does not need a startup-calibration routine: hold the on button and begin scanning. Keep your fingers on the handle and away from the detector edges while the button remains depressed. That can be easier to learn than a tool whose reading depends on a particular starting point, but “no calibration” does not mean every scan will be clean. If the surface has heavy texture, wet paint or wallpaper, metallic wallpaper, foil-backed insulation, or uneven construction, an LED pattern can be difficult to interpret. For irregular plaster, Franklin’s instructions suggest scanning both across and up and down. A stud generally leaves a more consistent response than a fleeting irregularity, but this is still an interpretation step—not a guarantee. The company says the M210 can see through most lath-and-plaster walls within its 1.7-inch reach; it cautions that variable plaster thickness can defeat detection and metal-mesh reinforcement may block it. Tile, roofing and exterior materials are not guaranteed. For those surfaces, the safer shopping decision is to seek a model with explicit support for the exact wall assembly rather than extrapolate from the M210’s maximum-depth claim.The live-wire meter is a caution, not clearance
The M210’s separate Live Wire Meter runs while the button is held; yellow lights increase as the tool approaches a live wire. Franklin describes the meter as optimized for wires on or near studs and recommends scanning repeatedly in both directions. That is a useful additional signal when mapping a likely stud, particularly because wiring is often routed along or through framing. The manual is equally important about its limit: the M210 may not detect every live wire or hidden object. A quiet display is not evidence that a location is safe. Turn off electrical power, gas and water before drilling or otherwise penetrating a wall, and follow the installation instructions for the item being mounted. If your primary need is to identify electrical circuits or positively locate a cable, buy a dedicated electrical tester or cable locator instead; the M210 is not one.What to check before choosing it
Two AA batteries are required. The available instructions do not establish whether every retail package supplies them, so check the exact package contents and have the correct batteries ready. The body also has a built-in bubble level and a pencil caddy, small practical details for marking and aligning a mount, but neither replaces a separate layout check when the installation has tight tolerances. Franklin’s 1.7-inch figure is a manufacturer-stated maximum, not a depth that every wall will permit. Before buying, compare your wall material and any finish or reinforcement with the limits in the M210 instructions. If the wall is ordinary, dry interior drywall and you value a visible full-width pattern, the M210’s documented arrangement is a plausible fit. If you need an object-type verdict, a guaranteed reading through tile or metal mesh, or a safety clearance before drilling, its feature list does not solve that problem.Research basis
This is a source-based assessment of the M210 model page and the English operating/safety manual dated 10/25. No hands-on test, ownership, measurement or performance comparison was conducted. The product’s own documentation supplies the useful features and the reasons to verify every reading independently.Key specifications
Key details at a glance
| Sensing points | 13 |
|---|---|
| Indicator lights | 21 |
| Maximum stated stud depth | 1.7 in |
| Center and edge indication | Yes |
| Live-wire meter | Yes |
| Built-in bubble level | Yes |
| Battery requirement | 2 AA |
Use the exact model’s instructions for operating limits, supplied equipment and version differences.
Sources for this review
Sources for this assessment
Check this model against your wall
Use the finder to compare documented surface limits, center/edge indications and other requirements. A match is not a safety certification.