
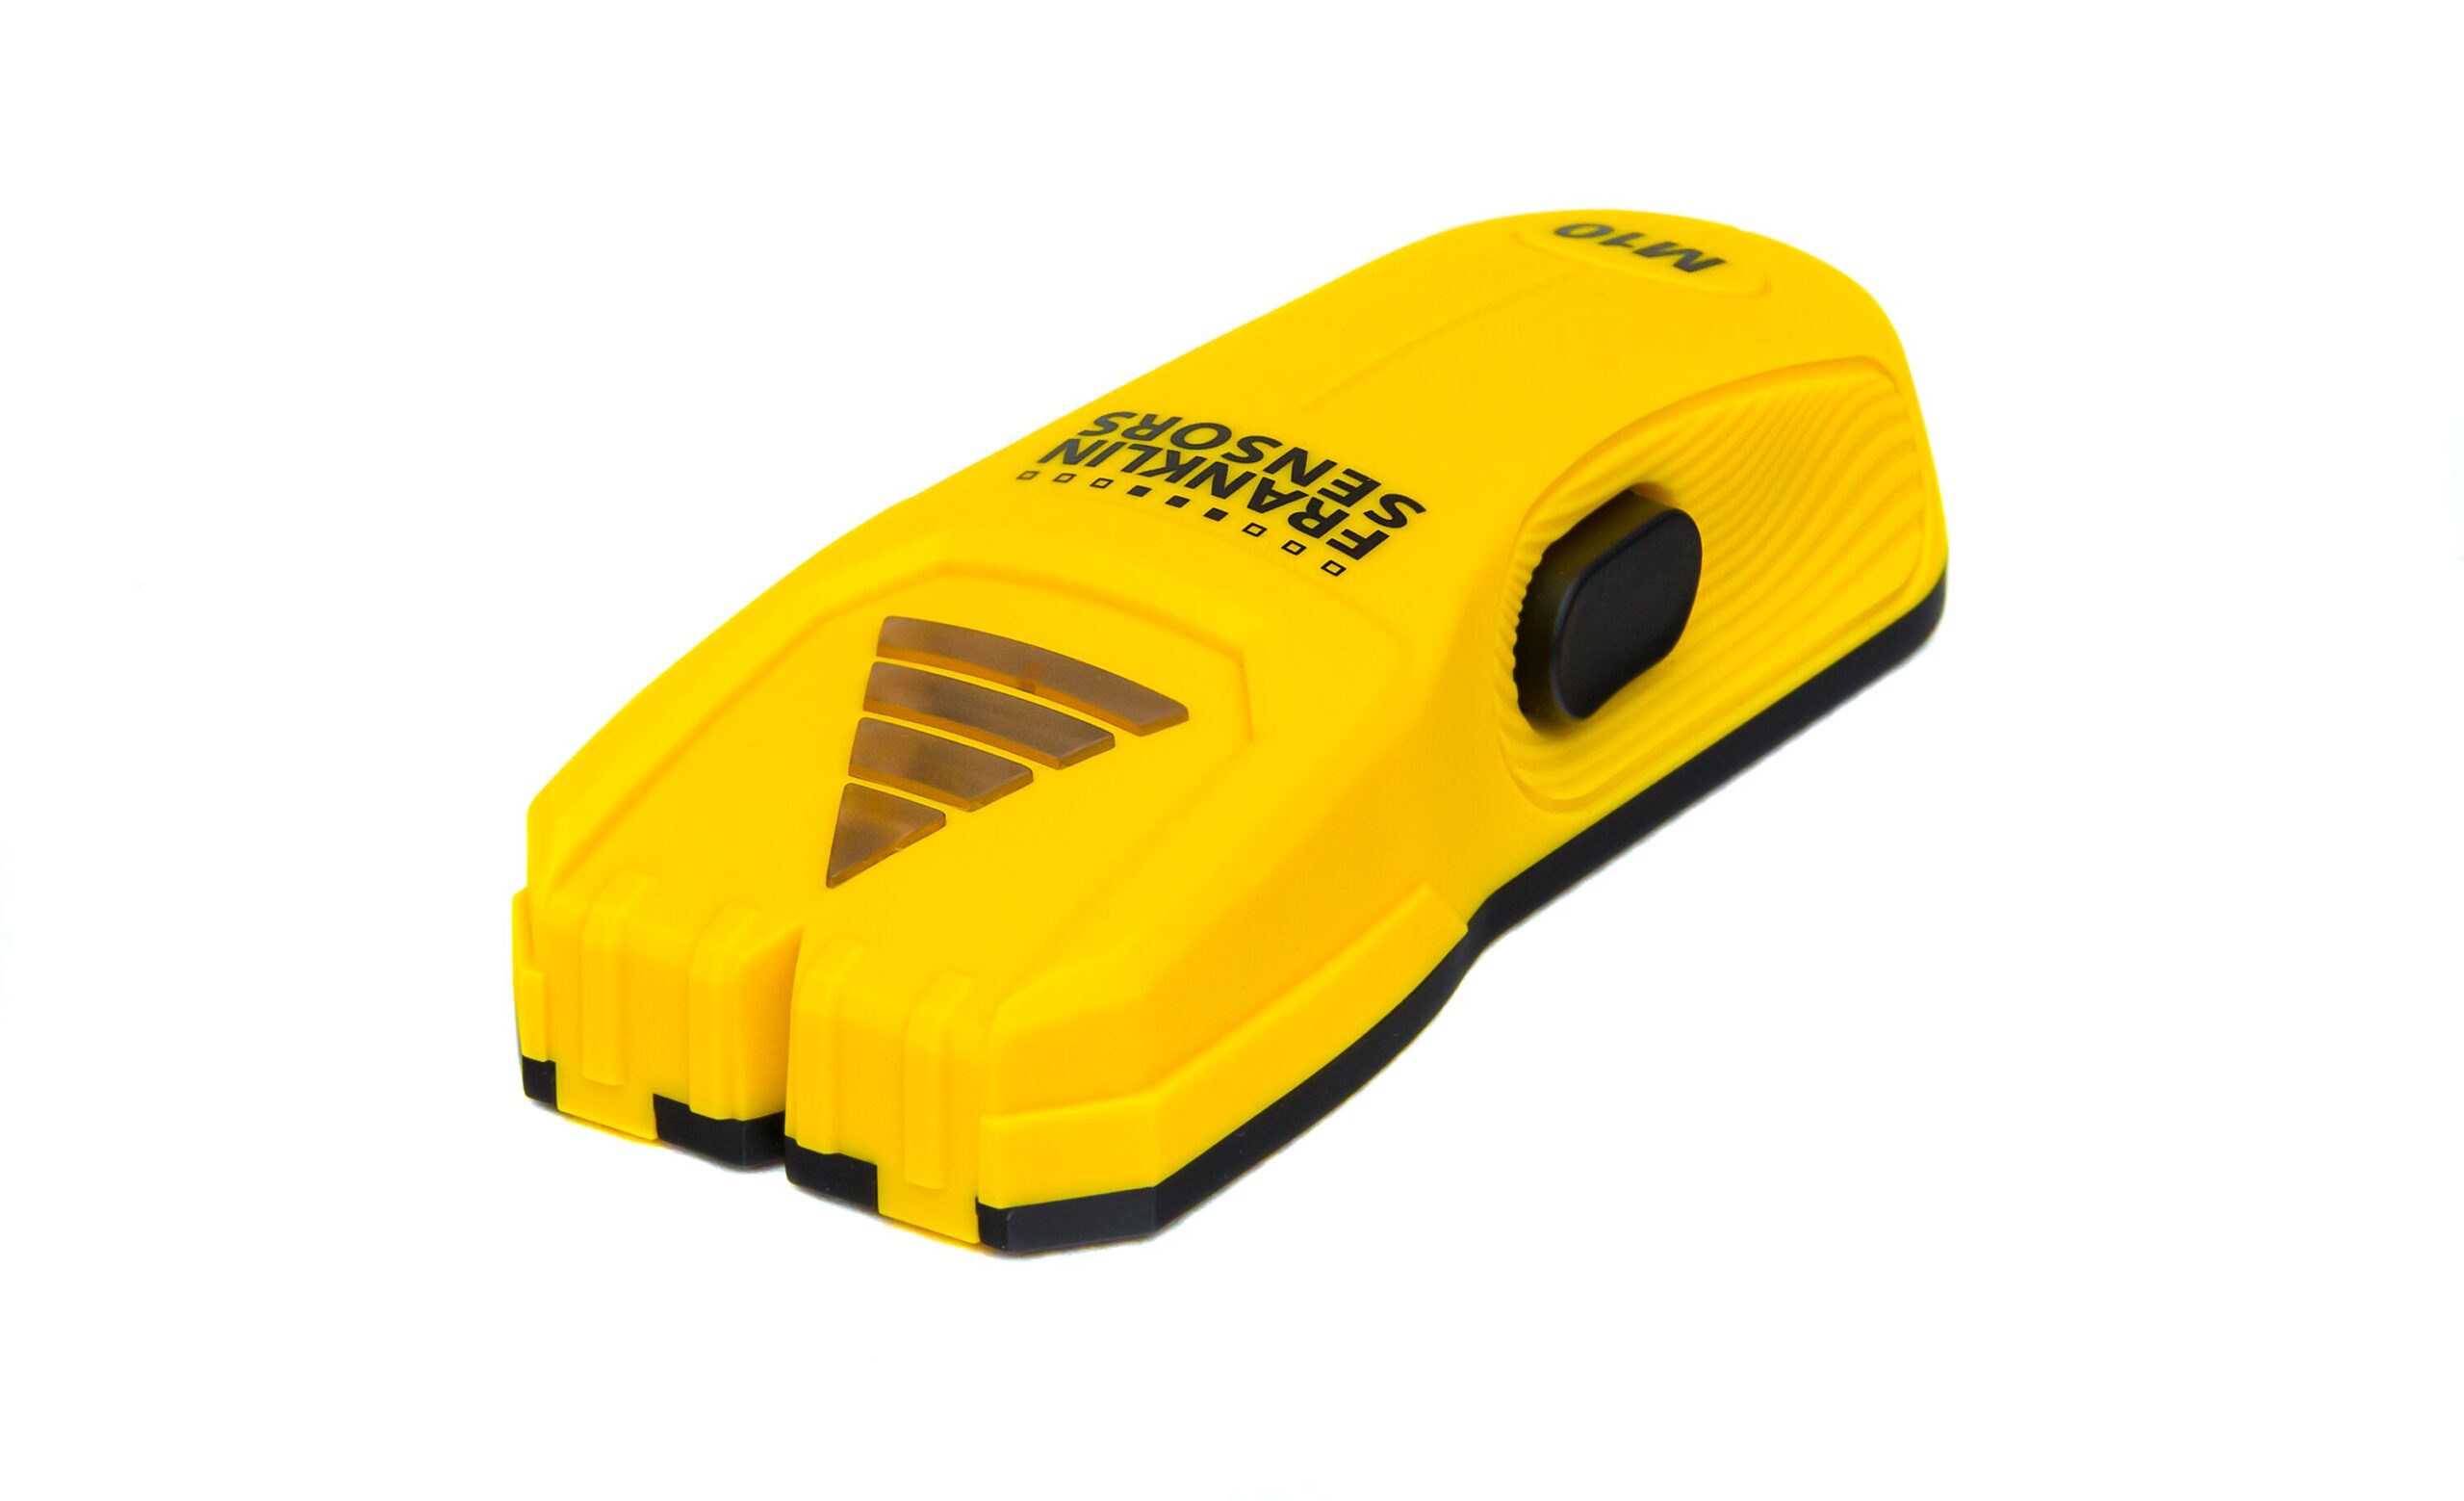
Your needs, this model
Does it fit your priorities?
How does the M10 show the stud center?
The shared M10/M12 instructions say the signal grows as the tool approaches center, red LEDs illuminate in sequence and a green LED marks the center. Those instructions do not say the M10 simultaneously indicates both edges, so the green cue should not be treated as an edge map.
Explore this need in the finder →Can the M10 be used on lath and plaster?
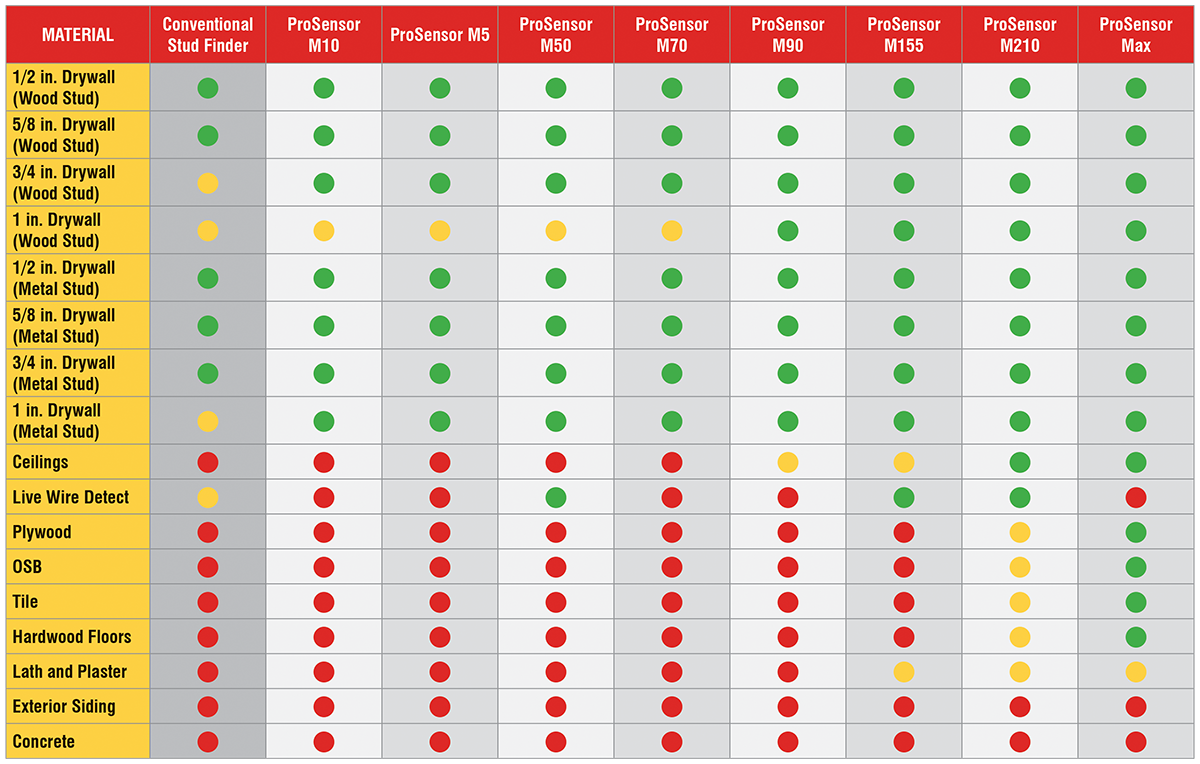
The current shared M10/M12 manual says it can see through most lath-and-plaster walls up to one inch, but irregular thickness and metal mesh can prevent detection. Tile, roofing and exterior materials are not recommended. Treat plaster as a conditional verification case, not a guarantee.
Explore this need in the finder →Does the M10 need calibration?
Yes. Its instructions say to place the finder firmly against the wall and then press and hold the button to calibrate and begin scanning. That setup is different from the M5, whose manual says no calibration is required.
Explore this need in the finder →The Franklin Sensors ProSensor M10 is a three-sensor, three-LED electronic finder with a stated one-inch maximum and a green center indication. Its setup differs in a practical way from the M5: the current M10 instructions tell the user to place it against the wall before pressing and holding the button to calibrate. This source-based review uses the exact U.S. M10 product page and the linked 05/25 M10/M12 instructions. It does not claim hands-on use or measured performance.
One inch is a screening maximum, not a promised reading
The model page lists three sensors, three LEDs and a one-inch depth maximum. The shared manual identifies the M10 as a three-location detector and describes the signal rising as the tool approaches a stud center. It says the red lights illuminate in sequence and that a green LED indicates the center. The evidence therefore supports a center cue, not a statement that the three positions simultaneously map both edges. If an edge pattern is an essential requirement, the M10's exact instructions do not establish it. Its one-inch number is only a comparison ceiling; actual results can differ with the finish, thickness and construction of the wall. The M5 is a useful side-by-side contrast. It also states a one-inch ceiling, but Franklin's exact M5 instructions list five sensing locations and say its LEDs track center and edges together. The M10 is the simpler center-marking arrangement: three lights, green at center and calibration after contact with the wall. These differences matter more than a shared depth figure. Do not move the M5's no-calibration instructions or center/edge map onto the M10.Follow the M10's wall-placement calibration
The M10/M12 quick start calls for two AAA batteries, a closed battery cover and firm placement against the wall before the button is pressed and held. The operating instructions describe that hold as calibrating and starting the scan. Keep a hand on the handle and avoid touching the sensing sides. As the M10 moves toward a suspected center, red lights increase in sequence; the green cue is the manufacturer's indicated center. On some surfaces, scanning more than one height can help compare signals. These are instructions from Franklin, not observations made in a comparative test. A signal is still only a response to a density difference. It cannot identify the sensed material, and pipes, wires, heavy texture or a wall irregularity can create indications. The manual advises that the stud finder should not be the only source used to locate objects. Use other evidence such as plans, visible utility entry points, receptacles and a plausible framing pattern, and repeat readings rather than trusting one isolated light.Surface qualifications are specific
The M10 manual describes conditional use through most lath-and-plaster walls up to one inch, with a warning that construction variation or plaster thicker than the published depth can defeat detection. It also says metal mesh may prevent a reading. That is a limited M10/M12 family statement and must not be stretched to exterior siding, roofing or tile; the same manual says the M10 is not recommended for those materials because their density varies. Foil-backed insulation may also make electronic readings inconsistent, and metallic wallpaper can block the signal. The M10's lath fit belongs only to a careful, verified case, not to every old wall. For dry drywall the ordinary wall-scan plan is the straightforward one. Keep the sensor board clean and dry, let it adjust after a significant temperature change, and make consistent contact. If the surface is uncertain, choose a flatter area rather than taking the maximum depth as evidence that the tool sees through every layer.No documented live-wire meter
The reviewed M10 product page and manual do not document a live-wire meter or warning feature. The current Franklin M-Series matrix shows an M10 cell in its live-wire row, but that graphic supplies no visible color key; it is not used here to claim a negative test result. More importantly, no exact M10 source reviewed establishes a meter, so it cannot satisfy a requirement that one be documented. The manual tells users to turn off water, gas and electricity before penetrating a wall and warns that a stud finder can miss objects. Neither a center light nor an absent signal is a safe-drilling confirmation. The M10 fits a shopper who values an explicit green center cue, can follow the stated contact-first calibration and has a one-inch or lower comparison requirement for a supported wall. Its battery requirement is two AAA cells, but the product page does not establish whether a seller includes them. Check the exact package and manual, and compare the wall material before choosing. For documented simultaneous edges and center, consider the M5 instead; for an electrical warning symbol, the M50 has one, but it is not a dedicated meter. None of these product differences turns a signal into an object identification or safety guarantee.Key specifications
Key details at a glance
| Sensing points | 3 |
|---|---|
| Indicator lights | 3 |
| Maximum stated stud depth | 1 in |
| Depth qualification | The exact M10 page states a 1.0-inch maximum. It is a comparison ceiling, not a promise through a specific finish or wall assembly. |
| Center and edge indication | No |
| Live-wire meter | No |
| Battery requirement | 2 AAA; alkaline is recommended for best performance; do not mix old/new cells or chemistries |
Use the exact model’s instructions for operating limits, supplied equipment and version differences.
Sources for this review
Sources for this assessment
Check this model against your wall
Use the finder to compare documented surface limits, center/edge indications and other requirements. A match is not a safety certification.