
Your needs, this model
Does it fit your priorities?
Does the ProSensor 710 show both stud edges and the center?
The current shared 710-family instructions say the LEDs track stud center and edges together, and the product page lists 13 LEDs. That can help compare a candidate framing pattern, but the light pattern still responds to density changes rather than identifying wood. Repeat the scan from another direction and check nearby utilities independently.
Explore this need in the finder →Can the 710's 1.6-inch maximum be treated as a guarantee through lath and plaster?
No. The current manual says the 710 may see through most lath-and-plaster walls up to its 1.6-inch limit, but irregular plaster thickness or construction variation can exceed that reach and metal mesh may prevent detection. Use the actual wall condition and a second verification method rather than treating the maximum as a guarantee.
Explore this need in the finder →Does the ProSensor 710 satisfy a requirement for a dedicated live-wire meter?
The reviewed 710 page and current shared manual do not identify a dedicated live-wire meter on this exact model, so the matcher does not treat it as satisfying a required meter. The instructions instead warn that nearby wires can trigger the density display and tell users to shut utilities off before penetrating a wall. Neither a signal nor no signal clears a location as safe.
Explore this need in the finder →Should I expect the 710's center LED to turn green?
The 710 page repeats Franklin's qualified phrase that the center LED turns green in certain models, and the shared manual likewise does not name 710 as one of them. Do not buy the 710 for a green center cue unless the exact version and its documentation establish that feature.
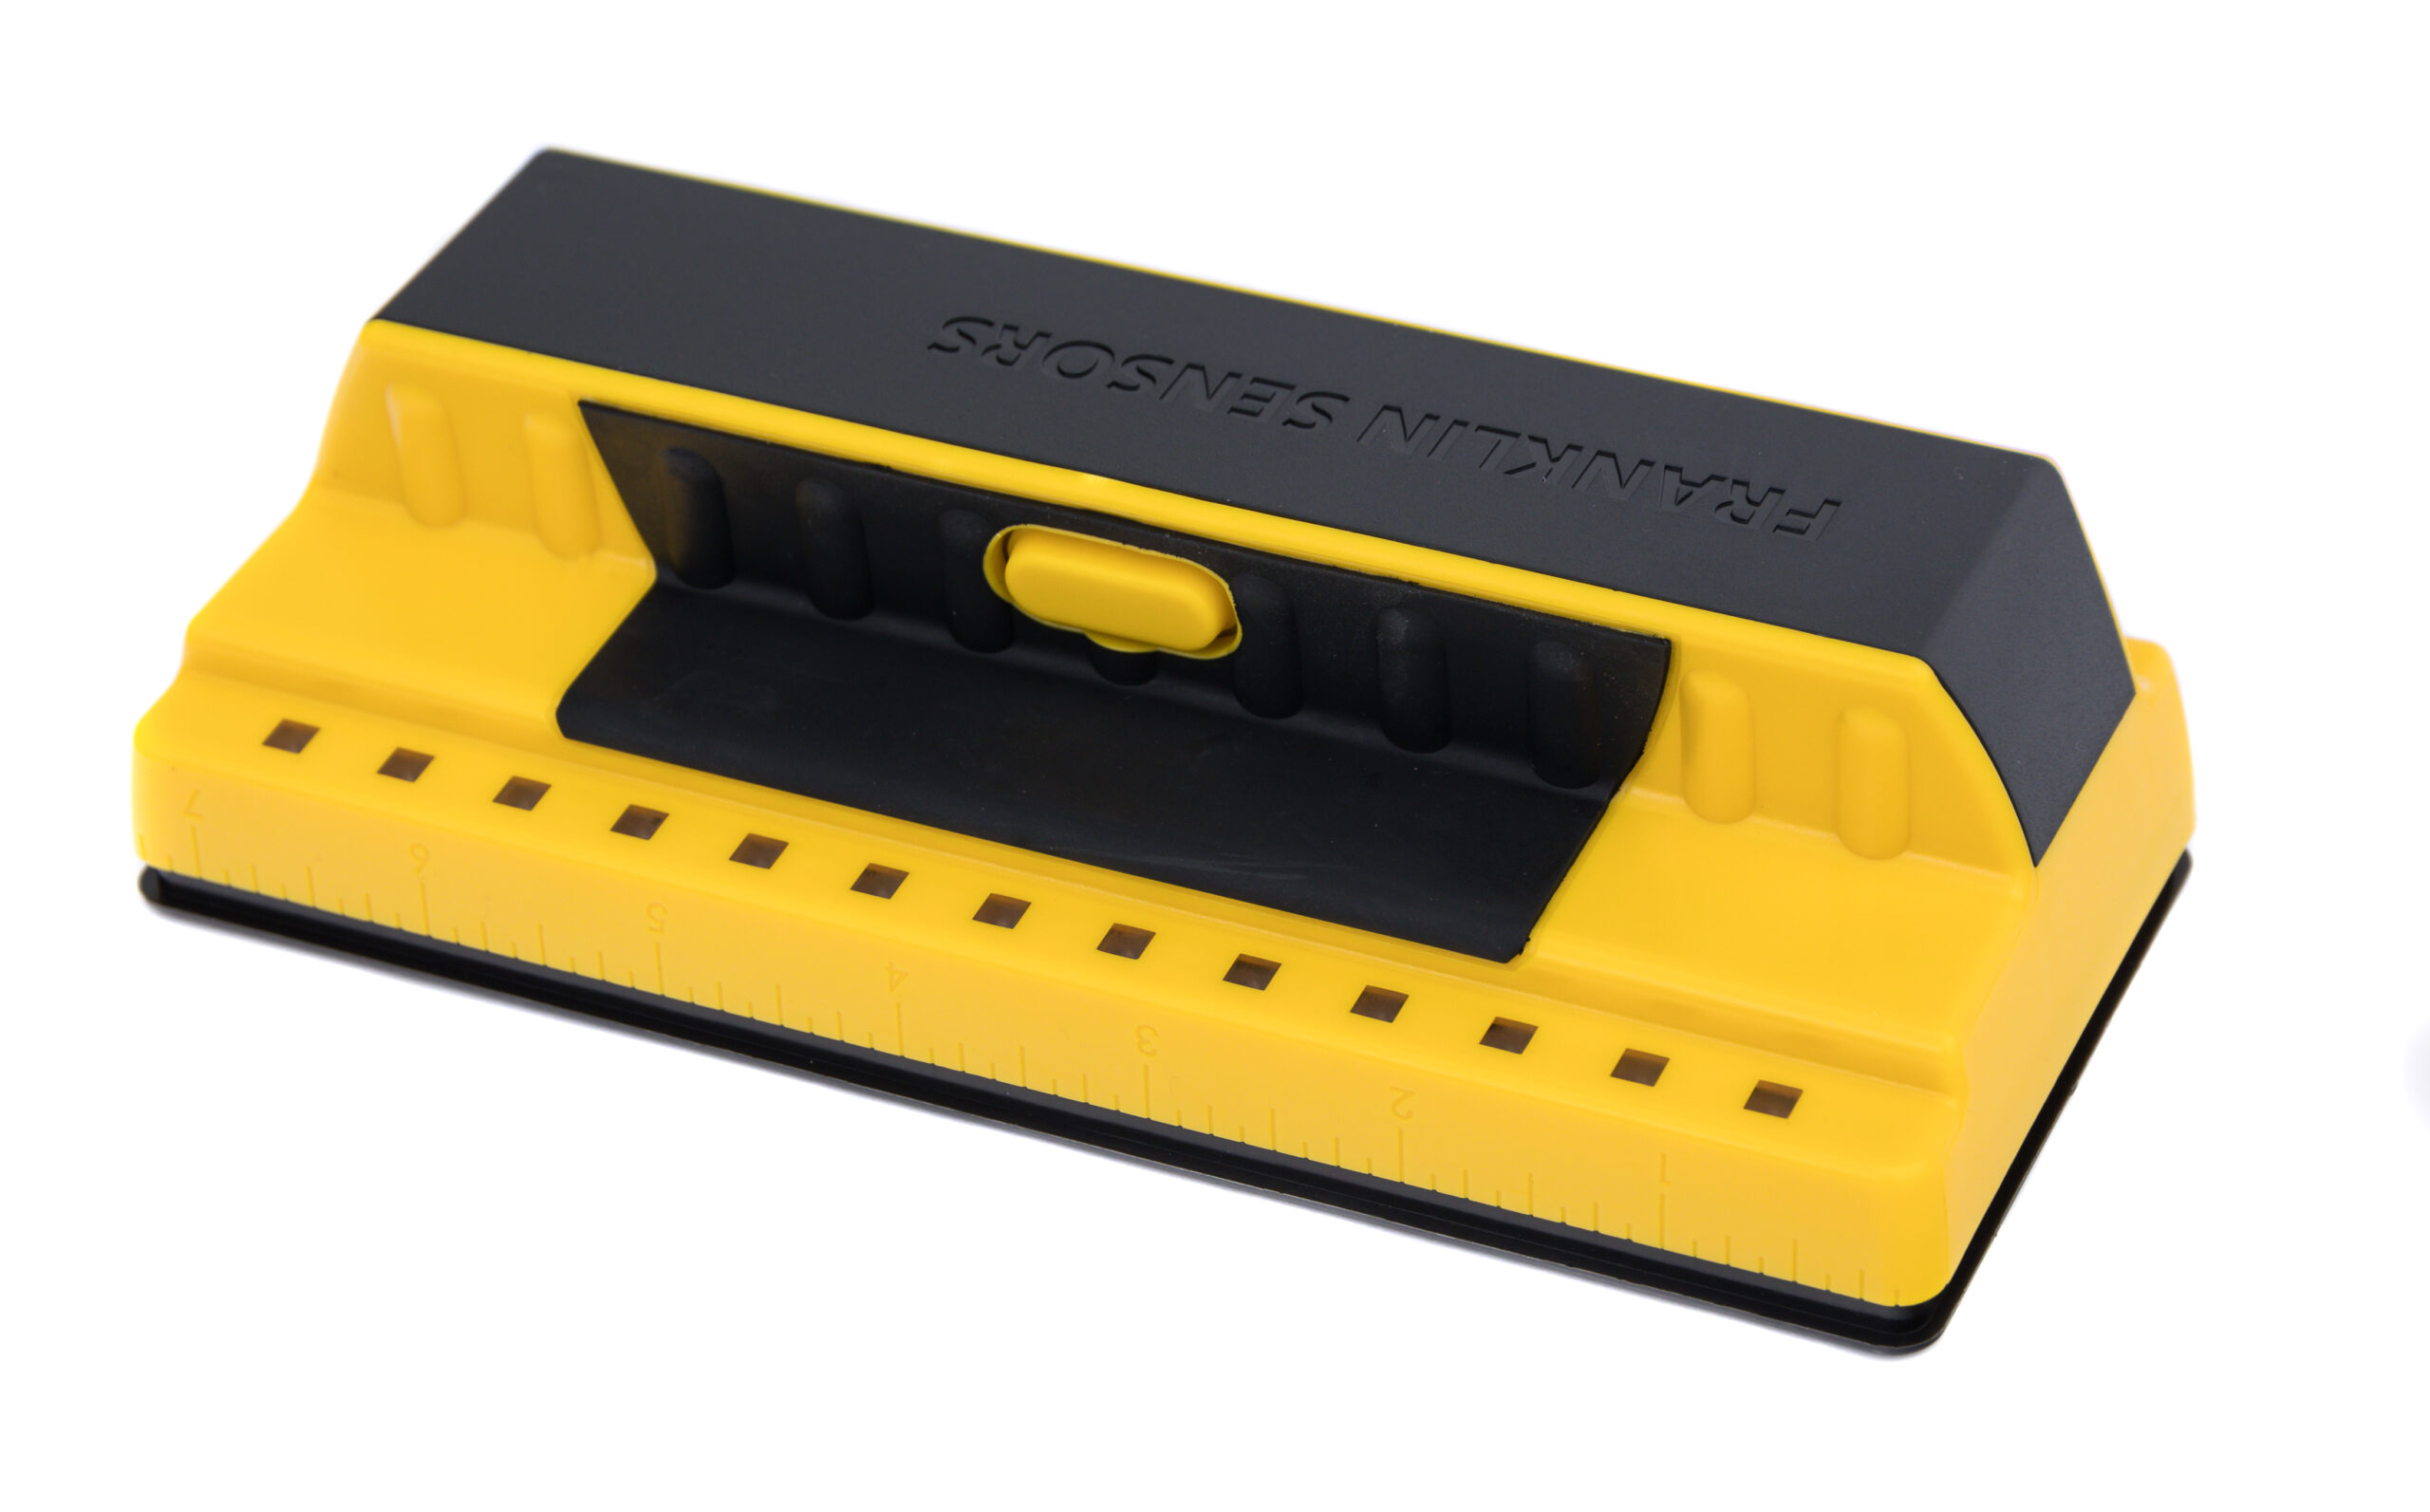
Explore this need in the finder →The Franklin Sensors ProSensor 710 is the maker’s original electronic stud finder in the current reviewed U.S. product range. Its product page lists 13 sensors, 13 LEDs, a built-in ruler and a maximum detection depth of 1.6 inches. The 710 is a relatively simple density-pattern tool: the current shared instructions describe center-and-edge indications and a no-calibration start, but the lights do not identify what is behind the wall. This is a source-based desk assessment, not a hands-on test or a claim of measured performance.
A readable pattern, not an object label
The 710’s 13-light display is organized around a multi-sensor array. The manual says its LEDs follow the center and edges of studs at the same time. That makes the output useful for comparing the width and boundaries of a likely framing member, but the manual is explicit that the instrument responds to changes in density. A wire, pipe, surface irregularity or another concealed object can also trigger lights; some hidden objects can be missed. A repeatable band is evidence to weigh, not proof that the target is wood or a safe place for a fastener.
One model-specific detail is easy to overread. The 710 page includes Franklin’s general note that a middle LED turns green on “certain models,” while the shared manual also qualifies that cue without naming which models. Neither source identifies the 710 as one of those versions. The center-and-edge behavior is documented, but the 710-specific materials do not establish a green center light. If that exact visual cue matters, verify the offered model and its instructions before buying.
The 1.6-inch figure needs its wall context
Franklin states a maximum detection depth of 1.6 inches for the 710. The current manual also gives 1.6 inches for this model in its discussion of lath-and-plaster walls: it says the 710 may see through most such walls, not all of them. Thick or uneven plaster can exceed the stated reach, and metal-mesh reinforcement may prevent detection. That is a conditional use case, not an assurance for an old wall whose layers and backing are unknown.
The same instructions say clean, dry surfaces work best. Let fresh paint or wallpaper dry fully; foil-backed insulation may cause inconsistent results, and wallpaper with metallic content may block the signal. Franklin does not recommend the ProSensor for tile, flooring, roofing or exterior surfaces because material density varies. The broad maximum should not be substituted for a material-specific endorsement. If the wall is tiled, exterior, unusually layered or reinforced, use a method documented for that exact assembly.
Operation is simple, but repeat the reading
The current family manual calls for two AA batteries and specifies 1.5-volt alkaline cells; it warns against rechargeable cells, mixed battery types and combining old and new batteries. The reviewed product page does not establish whether batteries are included in a seller’s package. Before scanning, keep the detector clean and dry and allow it to adjust after a significant temperature change. Hold it by the handle, keep fingers away from the sensing edges and press and hold the button through the scan. No calibration is required.
If an indication appears, the manual recommends continuing to hold the button and scanning vertically. A consistent response can help distinguish a stud-like pattern from a sporadic signal caused by an irregularity, but it still cannot identify the object. Start away from doors and windows, then approach them deliberately; the framing around an opening may include headers or groups of studs. Repeat at the actual fastener height and compare the boundaries before marking.
How the 710 differs from neighboring Franklin models
The 710 is a 13-sensor, 13-LED option with a stated 1.6-inch maximum. The reviewed T13 also lists 13 sensors and 13 LEDs, but states 1.7 inches and expressly lists a bubble level as well as a ruler. The M210 lists a 21-LED display, a 1.7-inch maximum and a live-wire meter; the X2100 is another 21-LED model whose page specifically describes a green center indication. The MAX is different again: it has two wall modes and a 2.5-inch overall claim, paired in its manual with a separate lower wood-stud figure. These are documented feature and procedure differences, not comparative test results. More lights or a larger maximum does not prove better real-wall performance.
Who should consider it—and what to verify
The 710 is a reasonable shortlist candidate for a dry interior drywall project when its center-and-edge pattern, ruler and no-calibration routine meet the need, and a documented live-wire meter or a higher threshold is not essential. Its shared instructions discuss conditional lath-and-plaster use up to the model’s stated 1.6 inches, but advise against tile, flooring, roofing and exterior applications. Choose another verified approach if those materials define the job, if you need more depth than the published limit, or if a live-wire meter is required.
Before ordering, check that the offer is specifically the ProSensor 710 rather than a neighboring 710+, T11, T13 or X1100. The product page and manual establish the finder but do not identify a standalone retail SKU or a seller’s exact box contents; they do not confirm included batteries, a case, a bubble level or a green center light. Check the exact unit, manual, package and return terms. Most importantly, Franklin warns that the finder alone should not be relied on to locate everything behind a wall. Turn off gas, water and electricity before penetrating the surface and use independent information or qualified help when the consequences of a miss are serious.
Key specifications
Key details at a glance
| Sensing points | 13 |
|---|---|
| Indicator lights | 13 |
| Maximum stated stud depth | 1.6 in |
| Depth qualification | The current official 710 page states a 1.6-inch maximum. The current shared manual gives the same value for 710 in its lath-and-plaster discussion; it is not a guaranteed depth through every wall. |
| Center and edge indication | Yes |
| Battery requirement | 2 AA; use 1.5-volt alkaline batteries and do not mix old/new or battery types |
| Built-in ruler | Yes |
Use the exact model’s instructions for operating limits, supplied equipment and version differences.
Sources for this review
Sources for this assessment
- ProSensor 710 — official model page
- Franklin Sensors ProSensor T11/T13/M132/710/710+/X1100 Operating/Safety Instructions (11/25)
- Franklin Sensors U.S. product directory
- Franklin Sensors instructions and quick-start index
- ProSensor M210 — official comparison model page
- ProSensor X2100 — official comparison model page
- ProSensor T13 — official comparison model page
- ProSensor MAX — official comparison model page
Check this model against your wall
Use the finder to compare documented surface limits, center/edge indications and other requirements. A match is not a safety certification.